Getting Started: Before the Asphalt Hits the Ground
So, you're thinking about getting some asphalt paving done at your place in Pomona, huh? Maybe it's for a new driveway, a parking spot, or even just a small pathway. That's a really good investment, but it's not something you should rush into. You really need to do your homework first, and honestly, getting the groundwork right is probably the most important part of the whole project. If you mess this up, well, nothing else really matters.
First things first, you need a solid plan. What will this area be used for? Just your car, or are we talking about heavier stuff like an RV or a delivery truck? That makes a huge difference in how thick the asphalt and its base need to be. You'll also want to think about the size and shape. And hey, don't forget to check for any underground utilities, irrigation lines, or even tree roots that might be in the way. Running into those surprises mid-project is a real headache and can get expensive, believe me.
Now, let's talk about the ground itself. This is often where a lot of DIY projects go wrong. You just can't pour asphalt over plain old dirt. The existing surface, whether it's old concrete, gravel, or just soil, has to go. We're talking about clearing out all vegetation, organic material, and any loose soil. After that, the subgrade—that's the soil layer underneath—needs to be properly prepared and compacted. If that subgrade isn't stable, your asphalt won't last, simple as that.
Then comes the sub-base. This is usually a layer of crushed stone or gravel. It's what gives everything stability and helps spread the weight around. It also acts as a frost barrier, which, okay, might not be a huge deal in sunny Pomona compared to colder places, but a good base still prevents problems from our occasional heavy rains and temperature swings. This layer needs to be compacted like crazy. We're talking 95-98% of its maximum density. If you're thinking of doing this yourself, you'll need some serious compaction equipment, not just a hand tamper. That's usually why calling a pro like Pomona Precision Asphalt just makes sense. They've got the right gear and the know-how to get that base rock solid.
And drainage? Absolutely critical. Water is asphalt's worst enemy, no doubt about it. You need to grade the area so water flows away from your new surface, not pools on it. In places like the flatlands near the Fairplex, proper grading is essential to avoid standing water that can lead to early failure. A good contractor will make sure there's a slight slope, often a 2-3% crown, so water sheds naturally.
The Paving Process: What Happens When the Asphalt Arrives
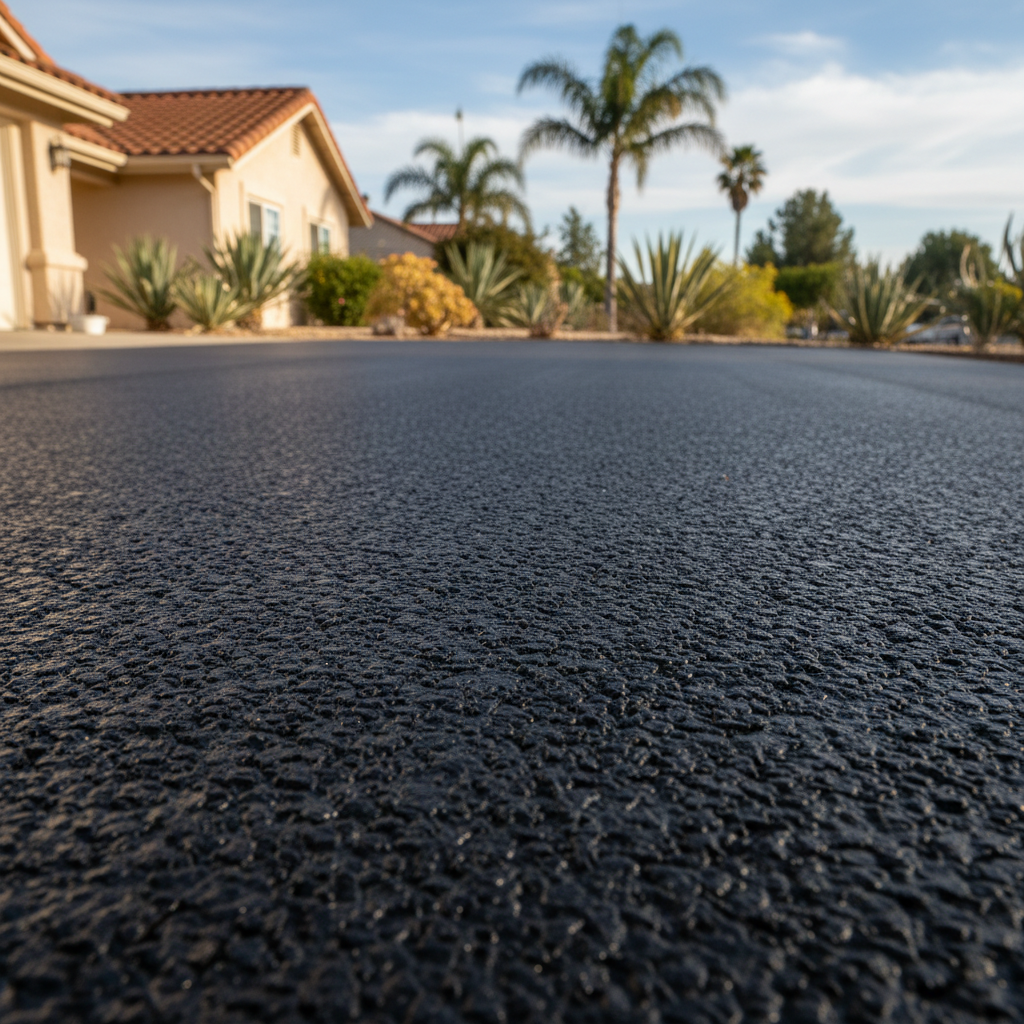
Once the base is prepped and ready, it's time for the asphalt. This isn't a DIY job, plain and simple. Hot asphalt needs to be put down at specific temperatures and then compacted quickly and evenly. Trying to do this yourself without the right equipment and experience is just asking for trouble—you'll end up with an uneven, weak surface that won't last.
The process involves laying down a binder layer (that's larger aggregate mixed with oil) and then the final surface layer (finer aggregate, sand, and oil). Each layer gets compacted with heavy rollers to remove air pockets and create that smooth finish you're looking for.
After the asphalt is laid, it needs time to cure. You typically need to wait at least 24 to 48 hours before driving on it, and sometimes longer for full curing, especially when it's hot out. Don't make sharp turns or park heavy vehicles on it during this time, as it can cause indentations and damage that fresh surface.
Keeping it Strong: After the Paving is Done
Okay, so you've got your beautiful new asphalt surface. Now what? Keeping it up is key to making it last for decades.
- Regular Cleaning: Keep it clear of debris, leaves, and dirt. Leaves can trap moisture, and dirt can wear down the surface. A simple sweep or hose-down really helps.
- Address Spills Immediately: Oil, gas, and other chemicals can break down the asphalt binder. Clean them up as soon as they happen.
- Crack Filling: Small cracks are inevitable, but don't let them get bigger. Fill them promptly with a good quality crack filler. This stops water from getting into the base and causing bigger problems like potholes. You can often handle small cracks yourself, but if they're wider than a quarter-inch, or you see a lot of them (like that alligator cracking pattern), it's time to call a professional.
- Sealcoating: This is like your asphalt's sunscreen and rain jacket all in one. Sealcoating every 2-3 years protects it from UV rays, water, and oxidation, keeping it flexible and preventing it from getting brittle. Just make sure to wait at least 3 months after a new paving job before putting on that first sealcoat.
- Watch the Weight: Try not to park really heavy vehicles like RVs, commercial trucks, or dumpsters in one spot for long periods. This can cause depressions and stress fractures. If you have to, spread the weight with plywood.
- Proper Drainage: Keep an eye on your drainage. If you notice water pooling, it needs to be fixed. Poor drainage is one of the biggest reasons asphalt fails, period.
When you see significant damage—widespread cracking, potholes, buckling, or sinking—that's when you absolutely need to call in the pros. Trying to fix major issues yourself can often lead to bigger, more expensive problems down the road because you might not address the real cause. A professional can assess the situation and recommend the right solution, whether it's a repair, resurfacing, or a full replacement.
Investing in asphalt paving is a smart move for your home. Knowing what you're getting into, doing the right prep, and keeping up with maintenance will ensure your new surface lasts for years. If you're ever unsure, don't hesitate to reach out to a local expert like us at Pomona Precision Asphalt. We're always happy to give you an honest opinion.